


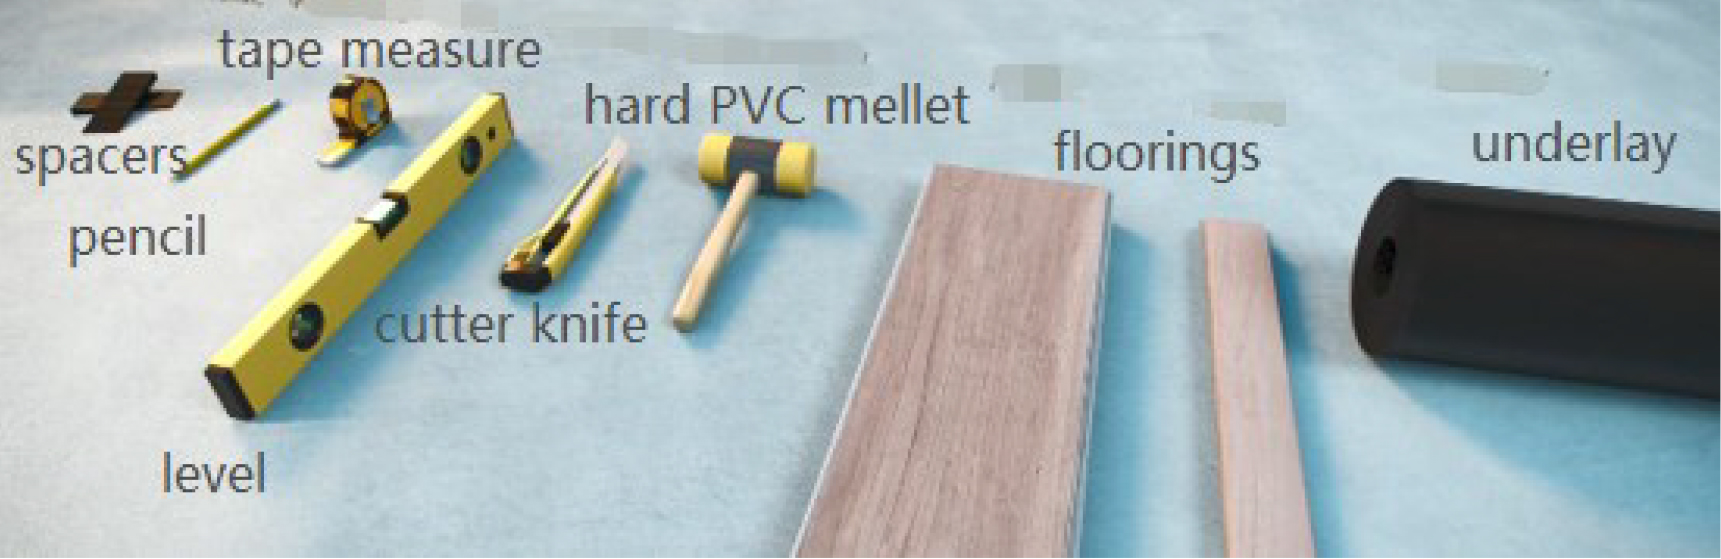
1、Tools
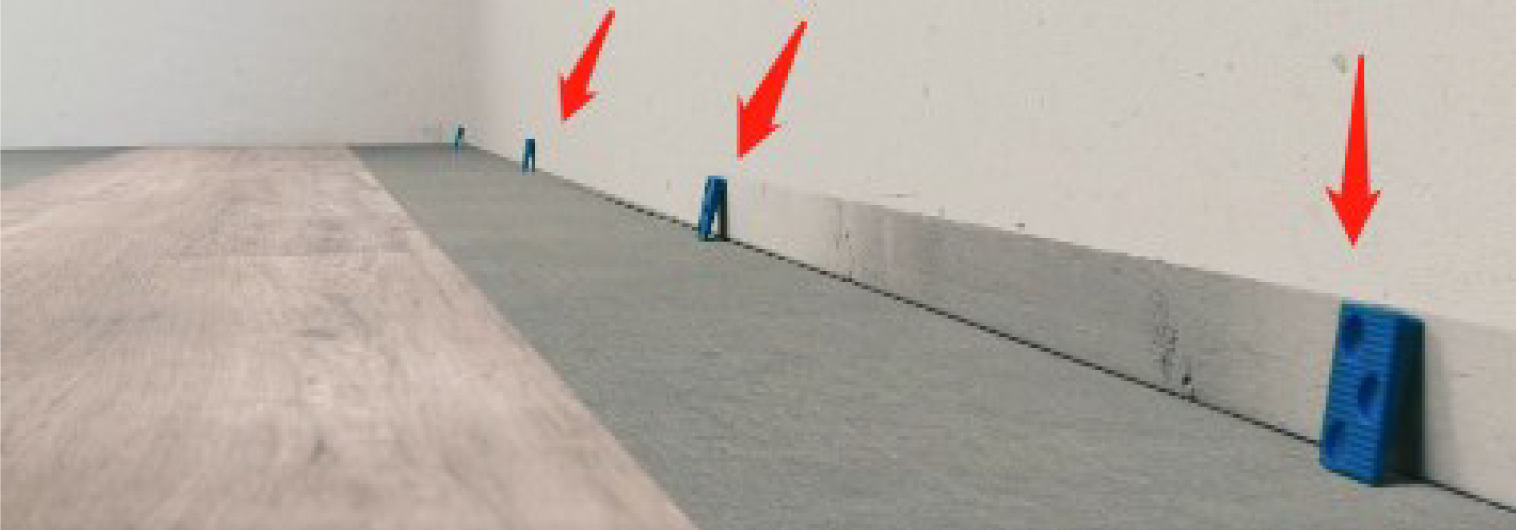
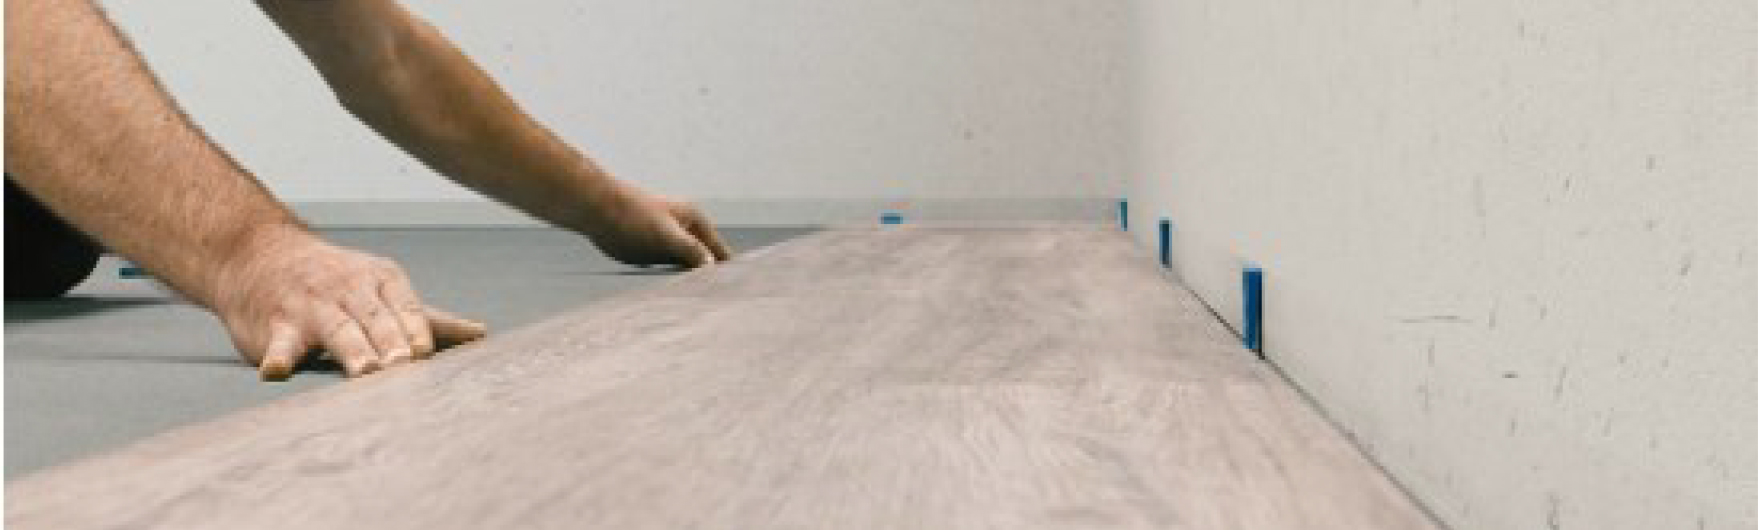
▶ Spacers: easy to add space between floor edges and walls
▶ Pencil
▶ Tape measure: make sure the length of last piece of floor in each row is correct.
▶ Level
▶ Cutter knife
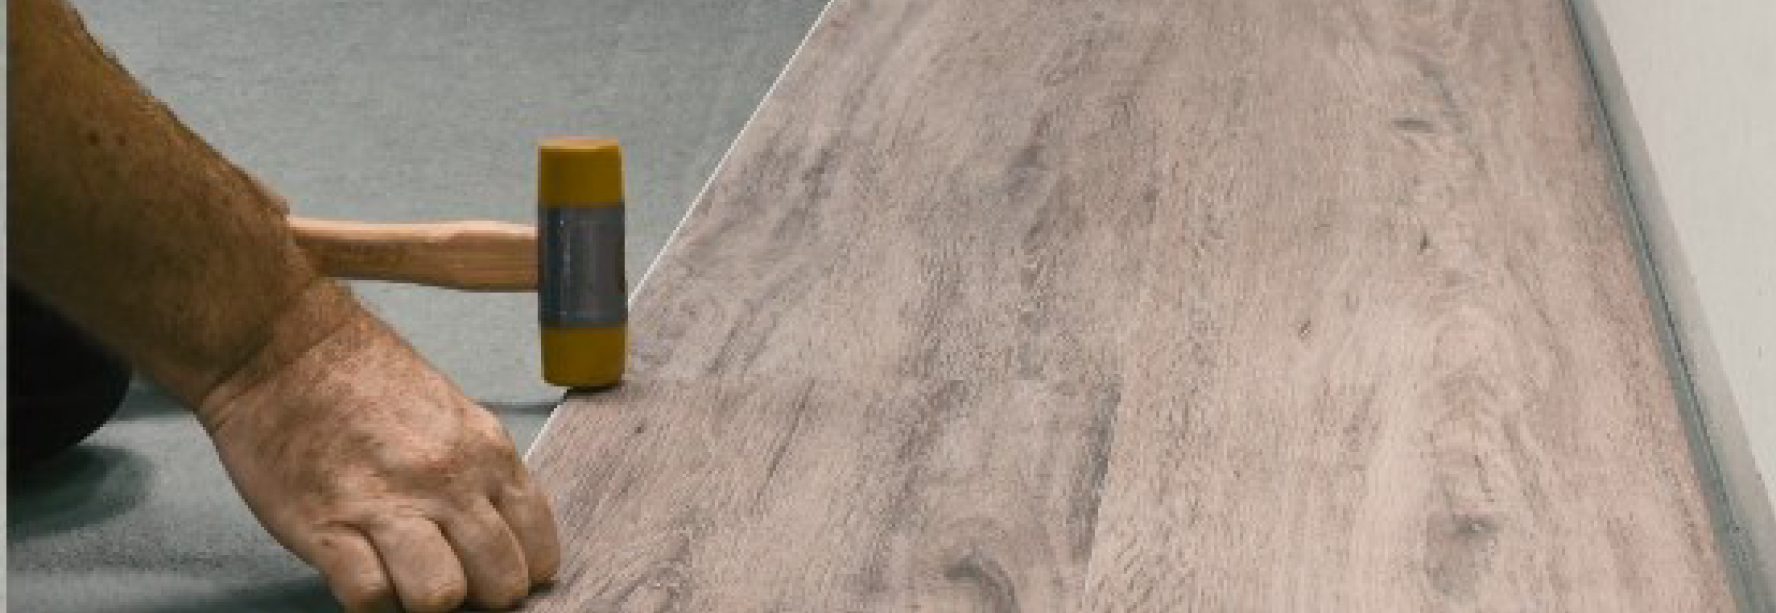
▶ Hard PVC mallet: tap to lock the floor so that the floor is completely even.
lf your floor do not have an underlay, you will need to install an underlay first, which isessential for silence and helps to achieve an ideal and even floor
2、Preparation
Before you begin installing flooring, remove plinths if any. Whether you are reusing existingplinths or adding new ones, install the plinths only after floor installation is complete
To make sure you have enough floor to cover your room, calculating your area surface andadd 10%

Acclimate the floor for 48 hours at room temperature between 18 and 25 C (Celsius) or 64and 77°F (Fahrenheit) prior to installation
Subfloor: Make sure your floor is clean and even, check for peaks or depressions in subfloorif any, please fill them up with cement paste. Remove all obstructions such as glue, nails orscrews.
Before starting installation, check the floor packaging for any damage
3.Installation
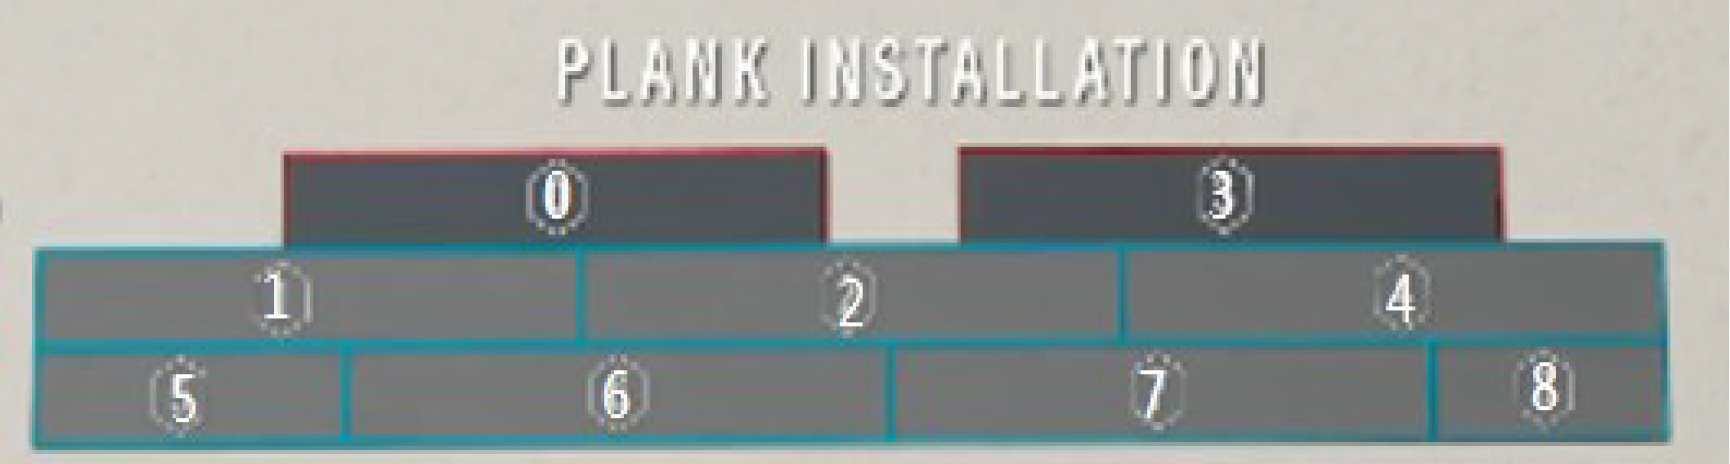
1)First, place a complete piece of floor (NO.0) against the wall without any spacers
2)Next, take another piece of complete floor (NO. 1), angle it with NO.0. This is the rownumber one.
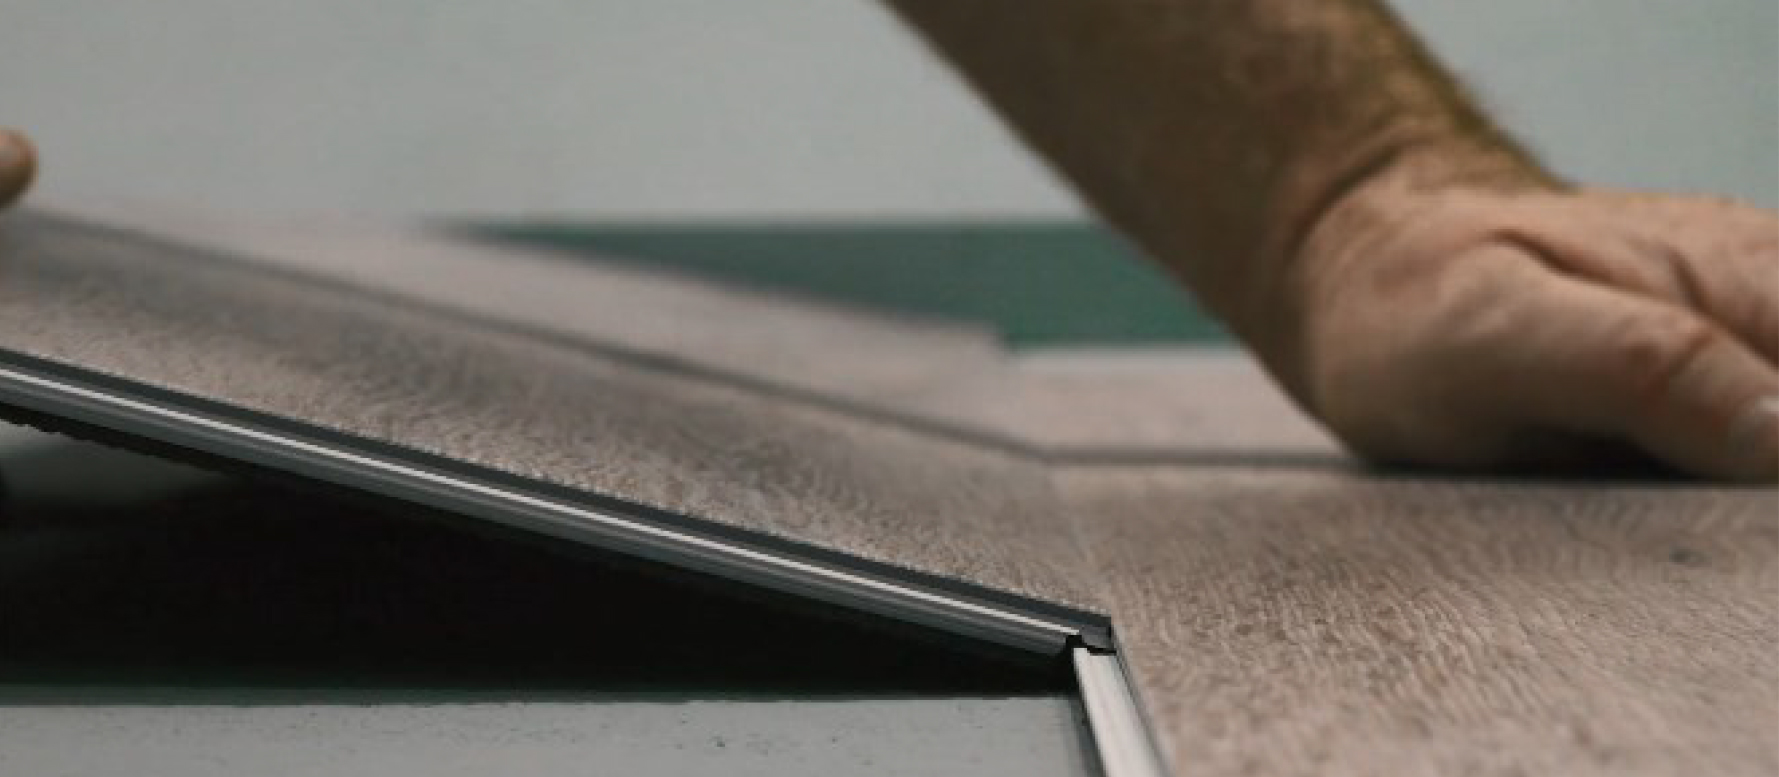
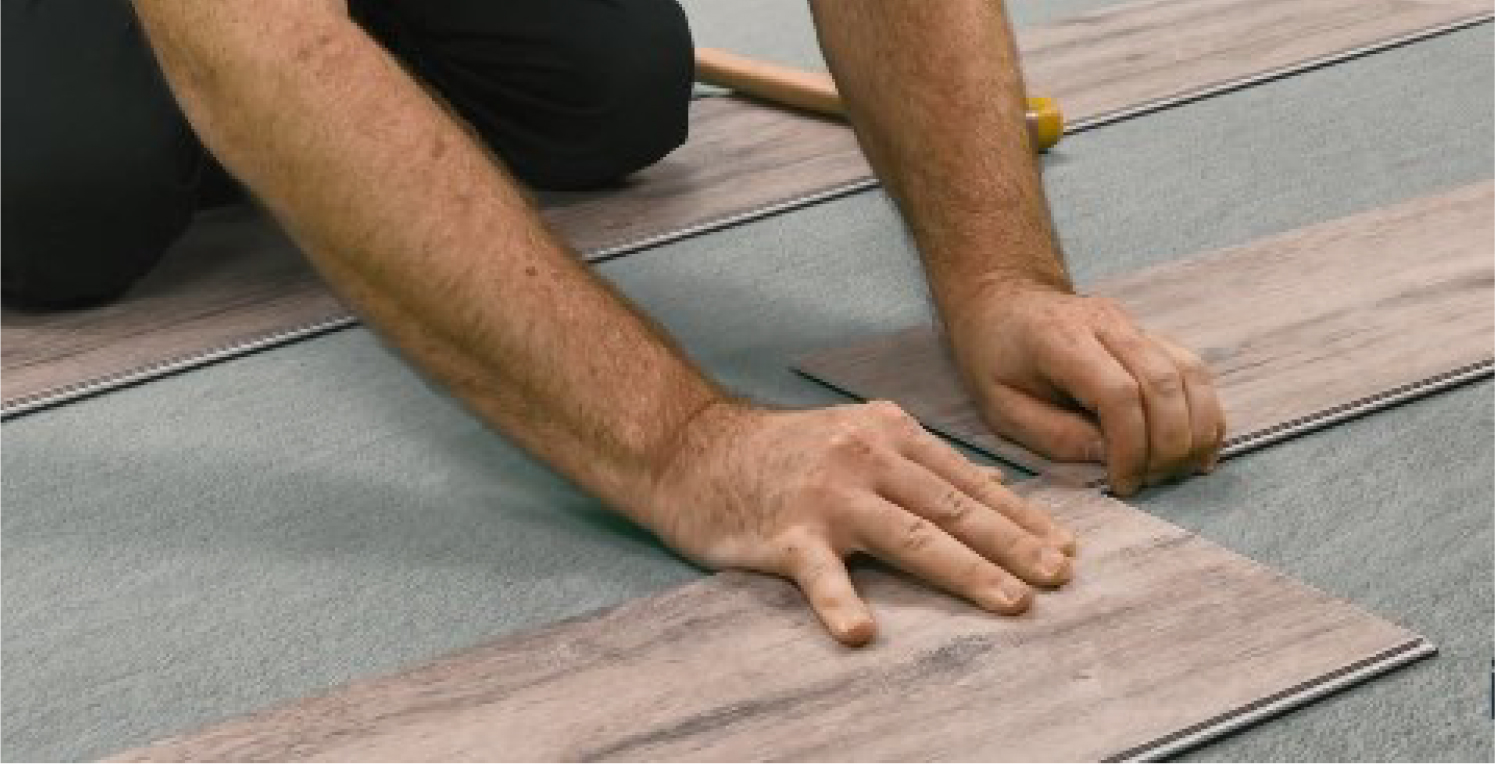
3)Continue to take a complete piece of floor (NO.2), after floor NO.1, connect the longside with the floor NO.0 at an angle, then the short side is dropped again with the floorNO.1. Use a hard PVC mallet to lock and secure the outer corners of the short side
4)Take another piece of complete floor (NO. 3) and angle it with floor NO.2, which willmake sure perfect alignment
5)Take another piece of complete floor (NO.4), insert the long side at an angle to connectwith floor NO.3, and then drop the short side straight to connect with floor No.2.
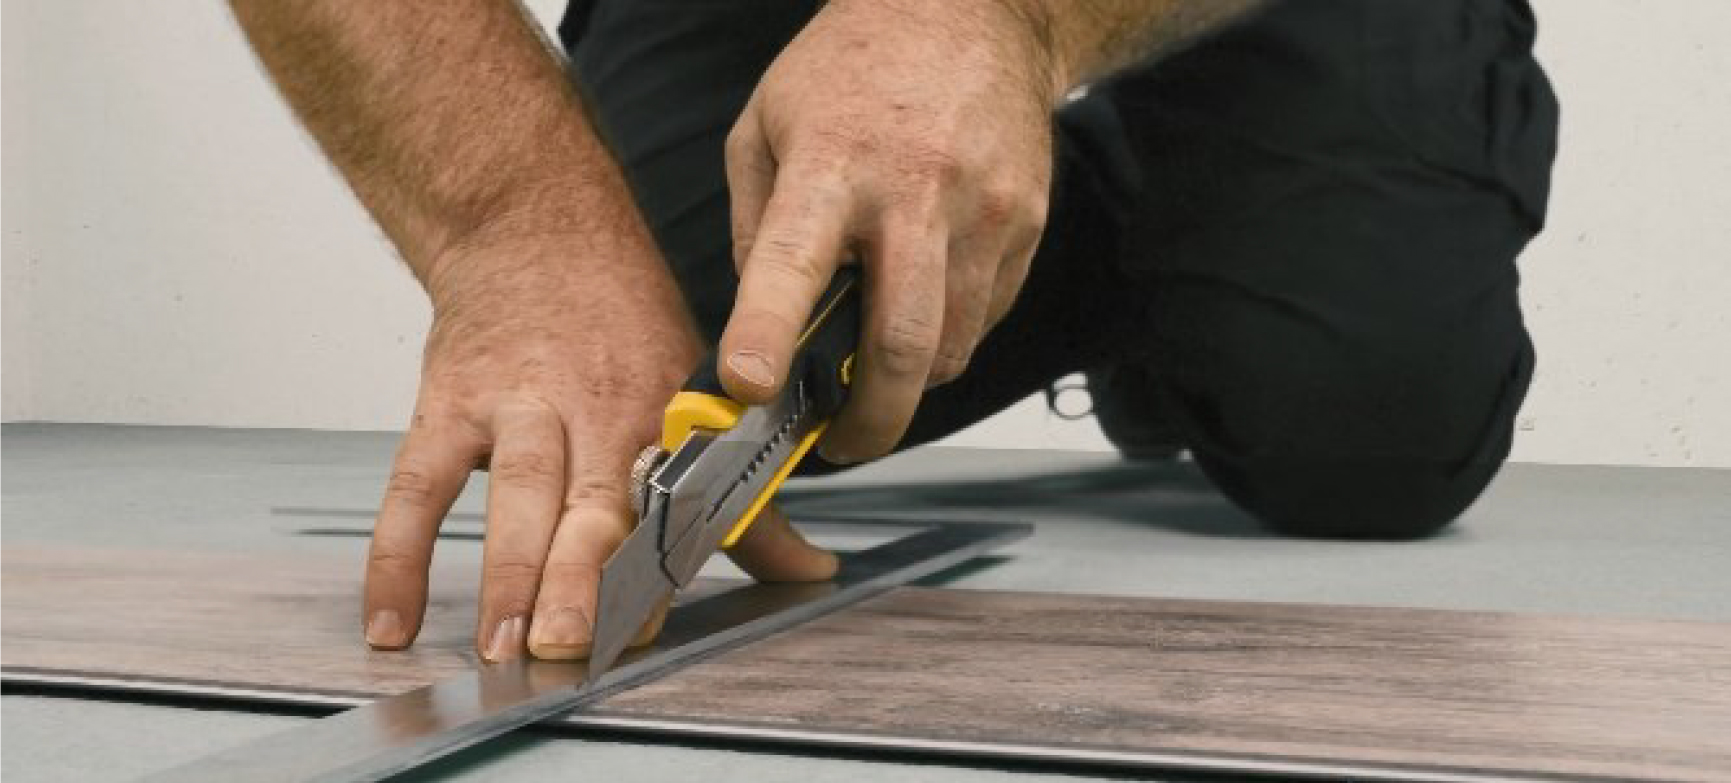
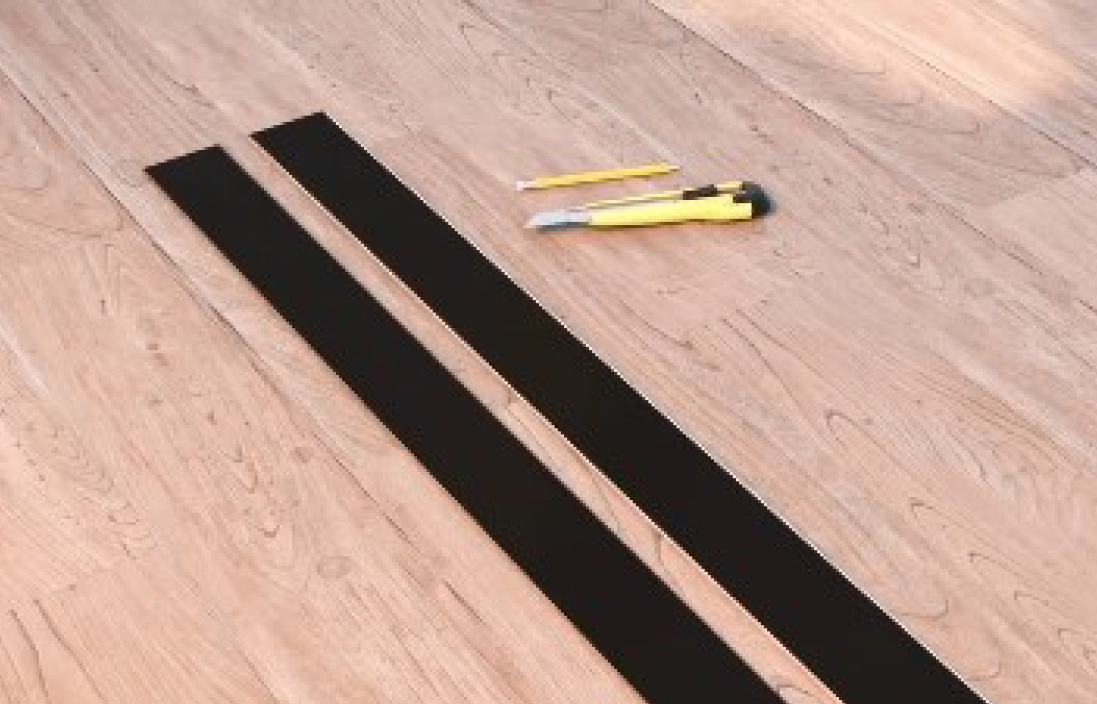
6)Take another piece of complete floor (NO. 5), use a tape measure to calculate the lengthyou need to cut, mark the section you need to cut with a pencil, place the framingsquare along the line you want to cut, then use a cutter knife to cut halfway through thefloor, and snap the excess floor with your knee; Flip the floor over and make a clean cutusing the cutter knife
7)Use the cut half of floor NO.5, and angle it with floor NO.1. Make sure the short side isaligned
8)Take another piece of complete floor (NO.6), drop and lock.
9)Continue to take floor NO.7, drop and lock.
10)Take a cut piece of floor No.8, drop and lock to complete the installation of the secondrow, remember to check for any gaps or height differences
11)Remove the floor NO.O and No.3 in row 0 by angling.
12) Use spacers to create an expansion space of 5mm/0.2 inches, complete installationbefore remove spacers
13) Gently slide the row one and two towards the spacers
14) From the third row, the installation does not need to follow a specific installationmethod. Then continue to install the fourth row, the fifth row... After installation.remove the pacers
15) To complete the installation of the last row, measure the distance from the wall to thelast installed row and minus 5 mm/0.2 inches to calculate the required width
16)Mark this measurement with a pencil lengthwise on the plank.
17) Use a cutter knife to cut halfway through the plank lengthwise, turn the plank over andput your weight on one half, pull the plank upwards to snap into two halves. Continuewith the cutter until both halves are free.
18) Angle in the tongue side of the plank lengthwise with your last installed row.

19) Lock the short sides by using the mallet
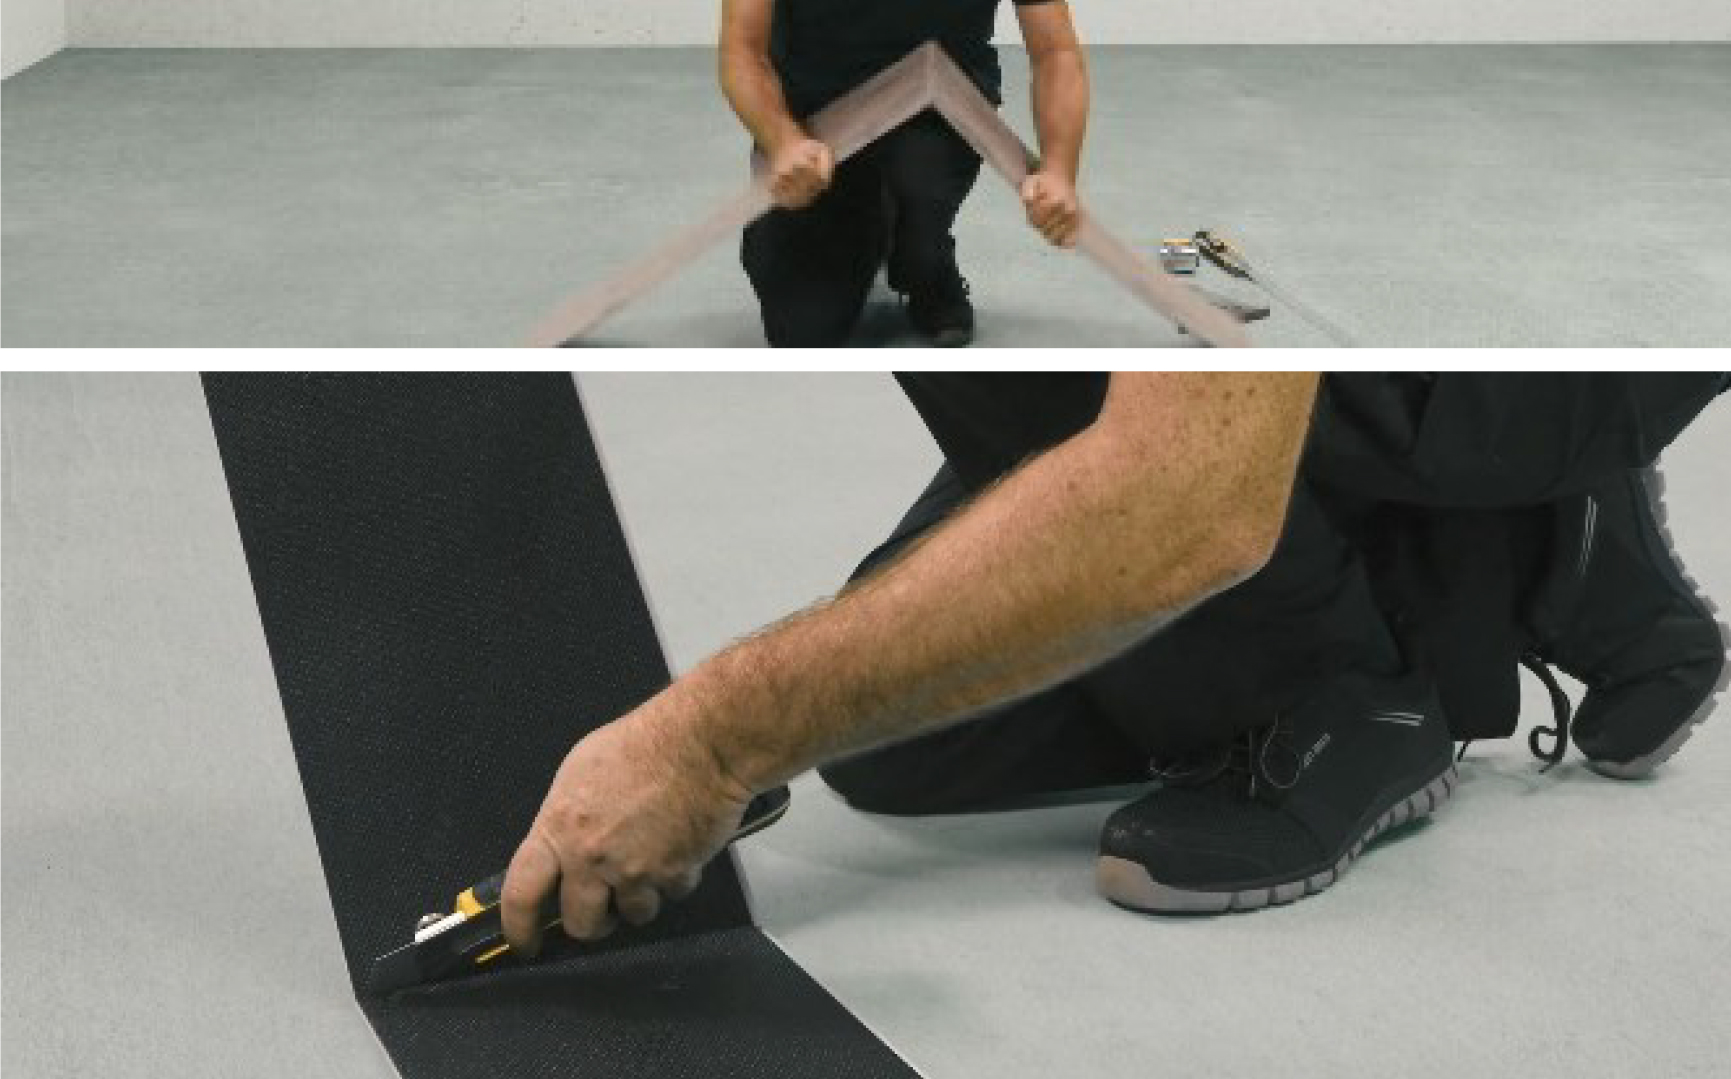
20) Finish the installation by adding plinths, molding and trim .Now you can enjoy your results!
Disassembling
1) Lift up the entire row at an angle
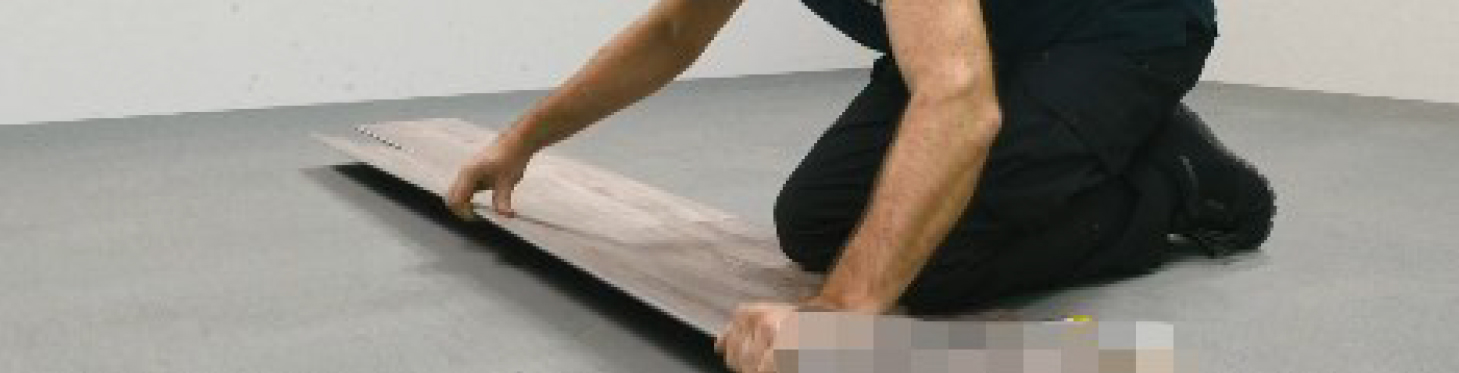
2)Slide apart the planks on the short side and lift the floor off the ground.If you cannot slide it away, the short side is not fully connected. Use a mallet to engage,then slide apart the floor and follow the same steps.
Finished disassembling